
Cohort 9: Guide to Environmental Sensing For Your Garden
Behind every beautiful garden is a lot of work and dedication. The key parts of gardening such as weeding, watering, and mulching can be very tedious and tiring tasks. This is where the handy dandy sensors come in, turning guesswork into precise data. Instead of wondering whether the soil is dry, or if your plants are receiving enough sunlight, you can install some sensors to help! By using technology to assist in managing your garden, you can spend less time worrying about your plants and more time enjoying the outdoors.
What They Are
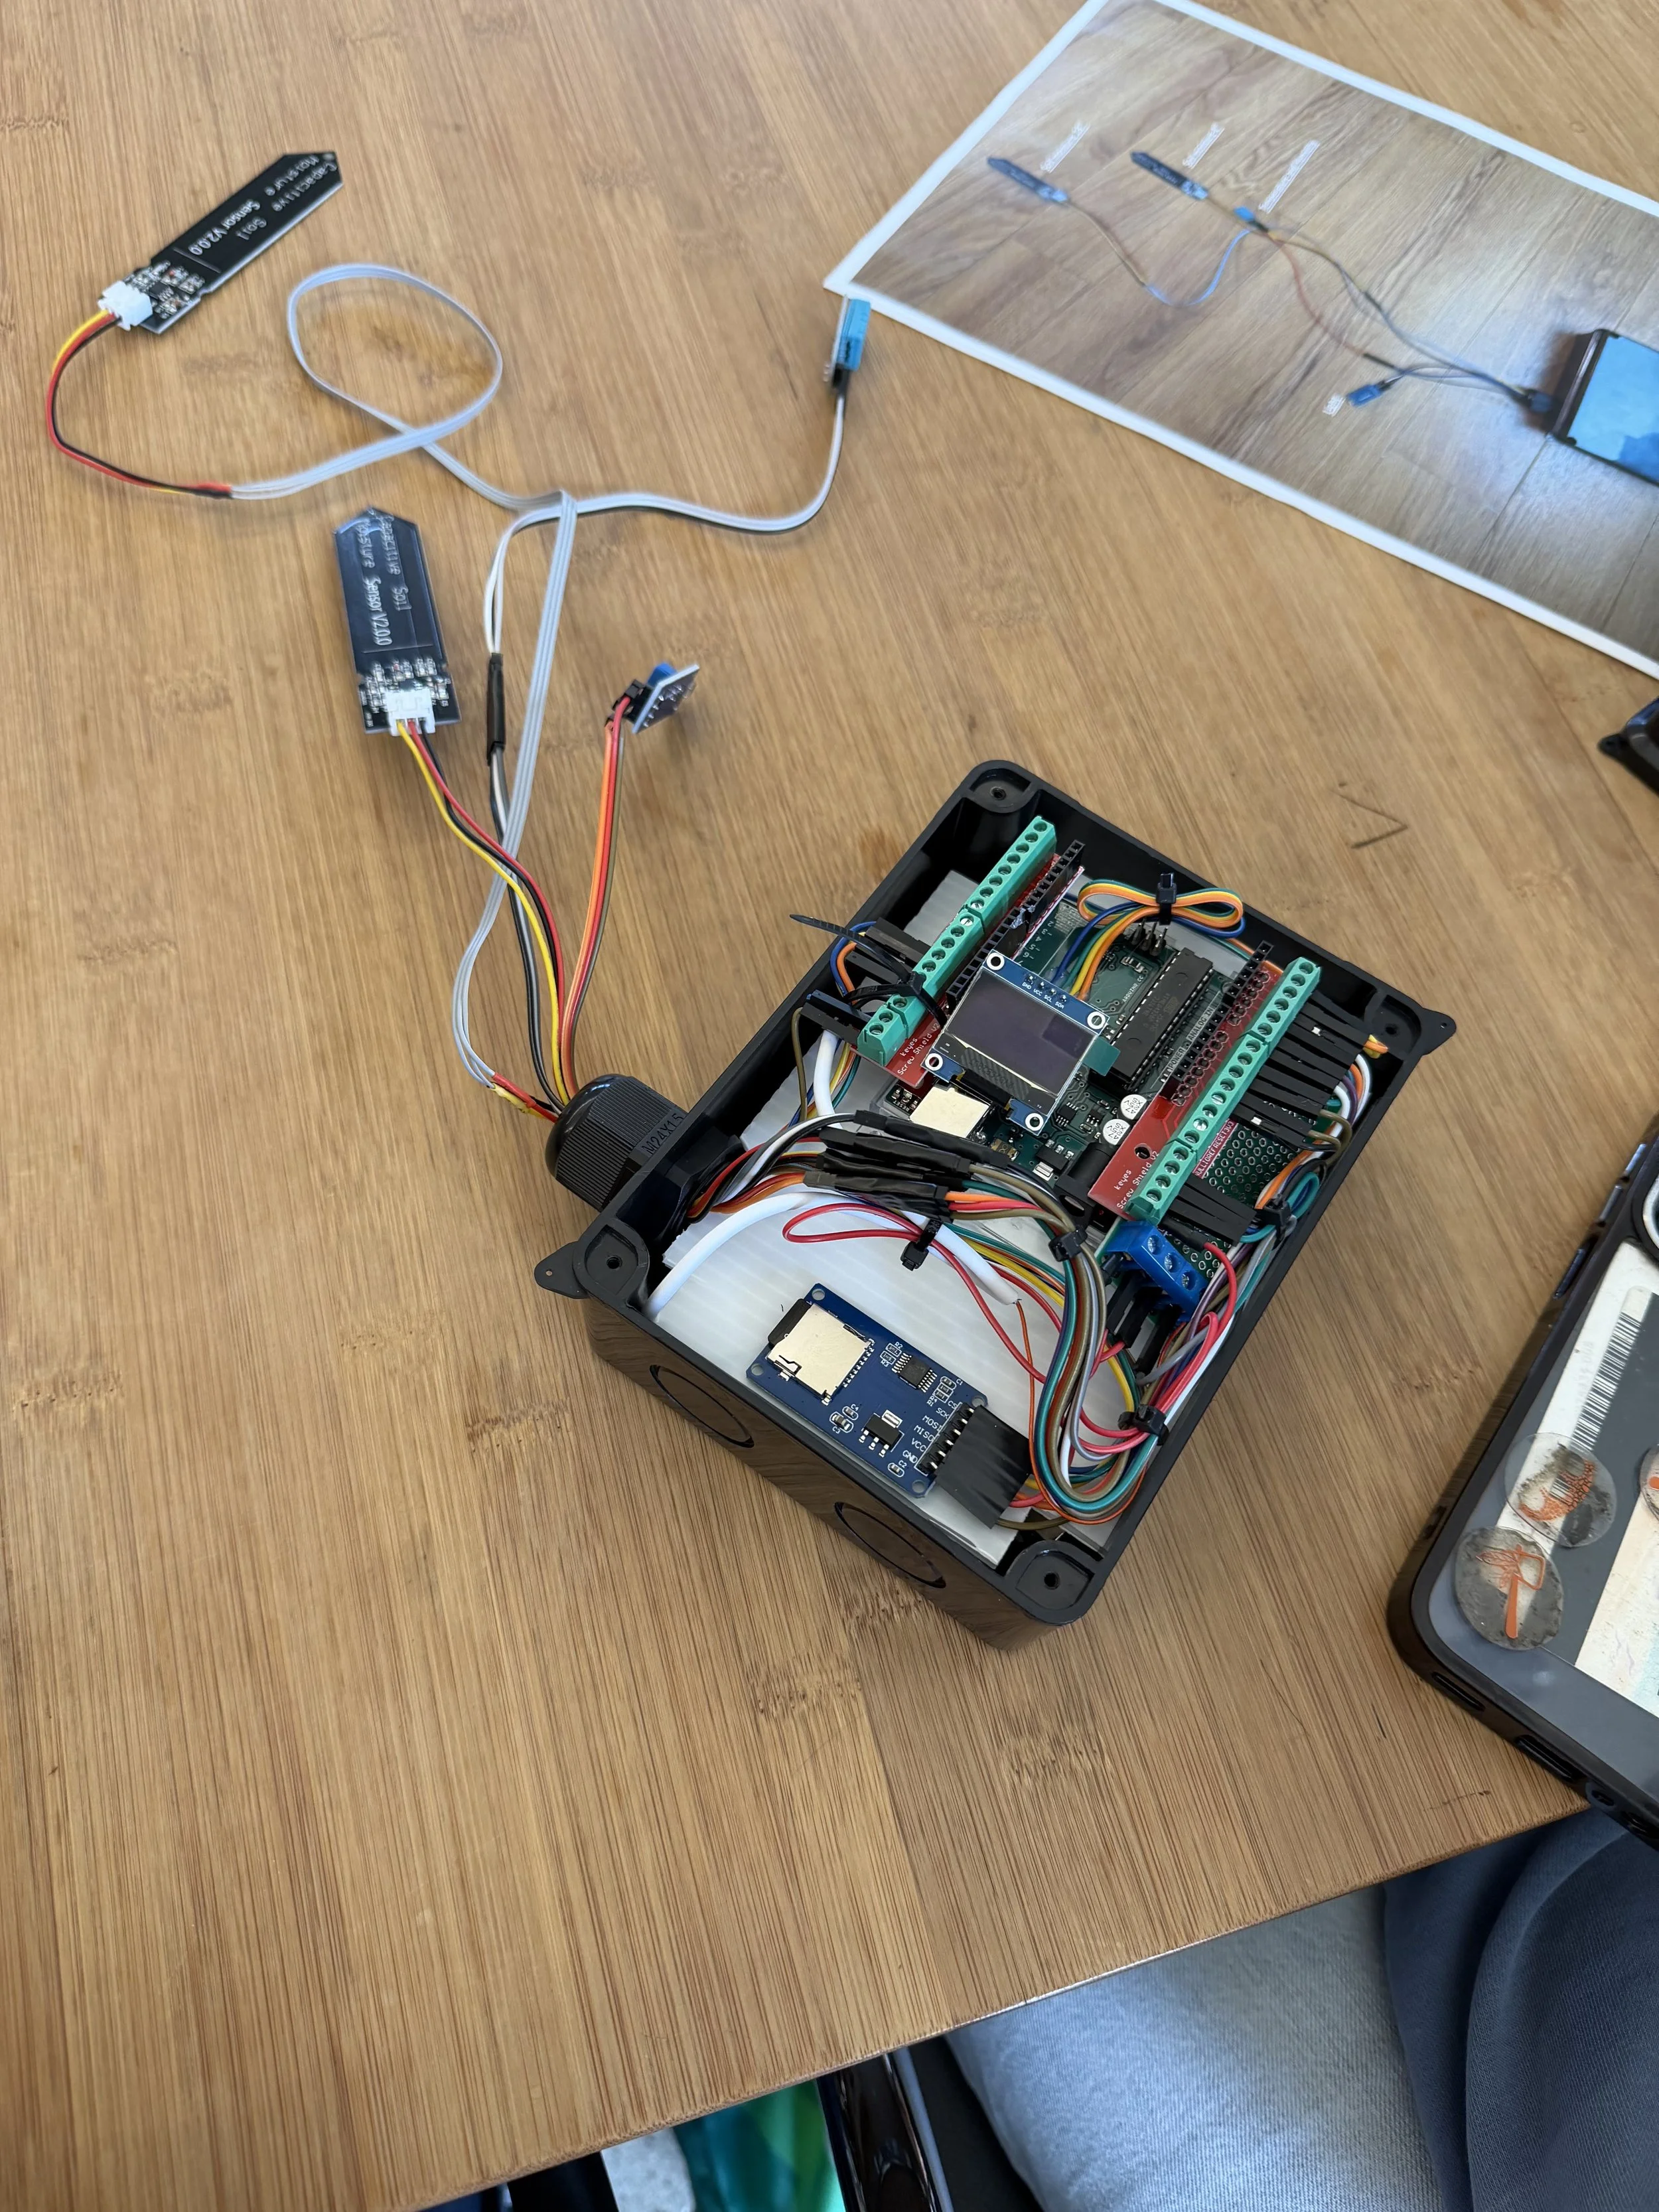
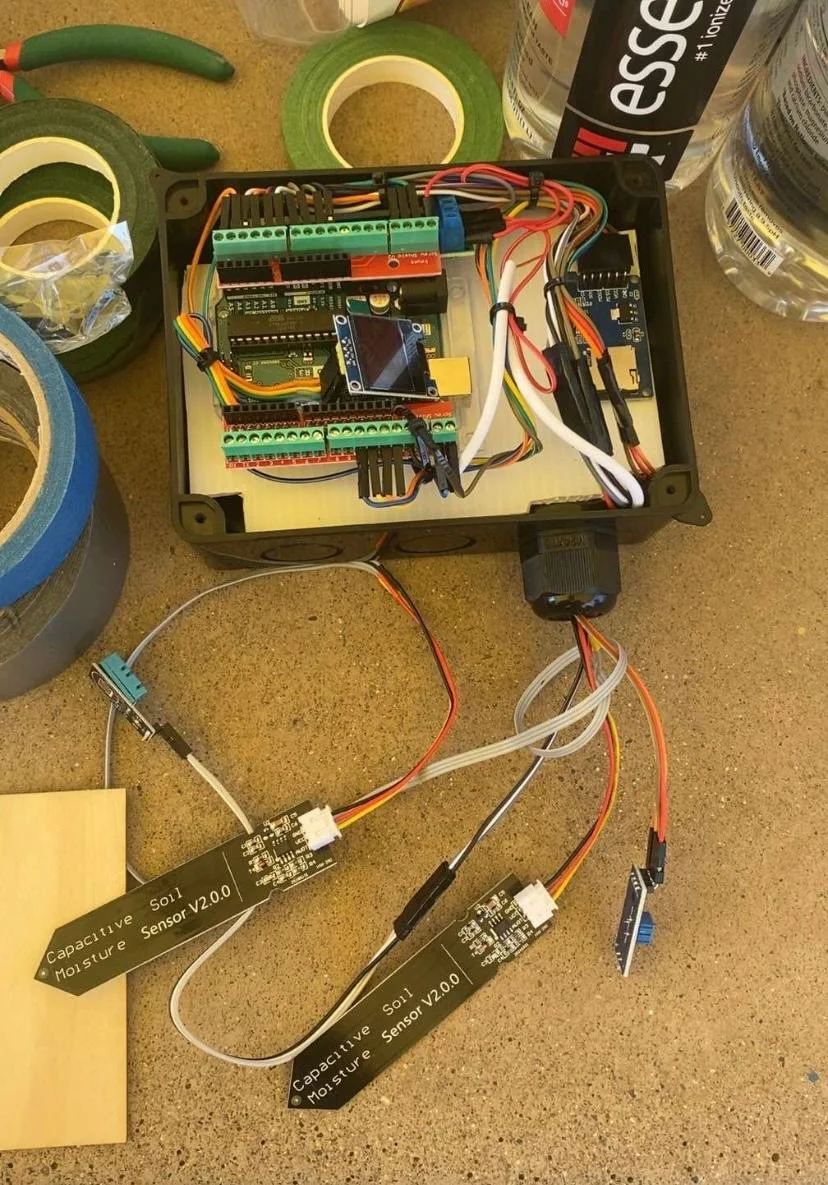
Our sensor box consists of 4 sensors, tasked with measuring different environmental factors. There is a sensor for humidity and temperature, solar exposure (sunlight), and 2 soil moisture sensors at different depths. These sensors create a digital pathway to collect data, supplementing the use of manual devices such as infrared thermometers and soil moisture meters. The sensors’ purpose is to collect data on all of the subtle changes in moisture levels, humidity / temperature, and sunlight. Once you’ve collected a substantial amount of data, you can use AI to help you interpret it, and create a structured plan before your plants even begin to wilt.
How We Installed Our Sensors
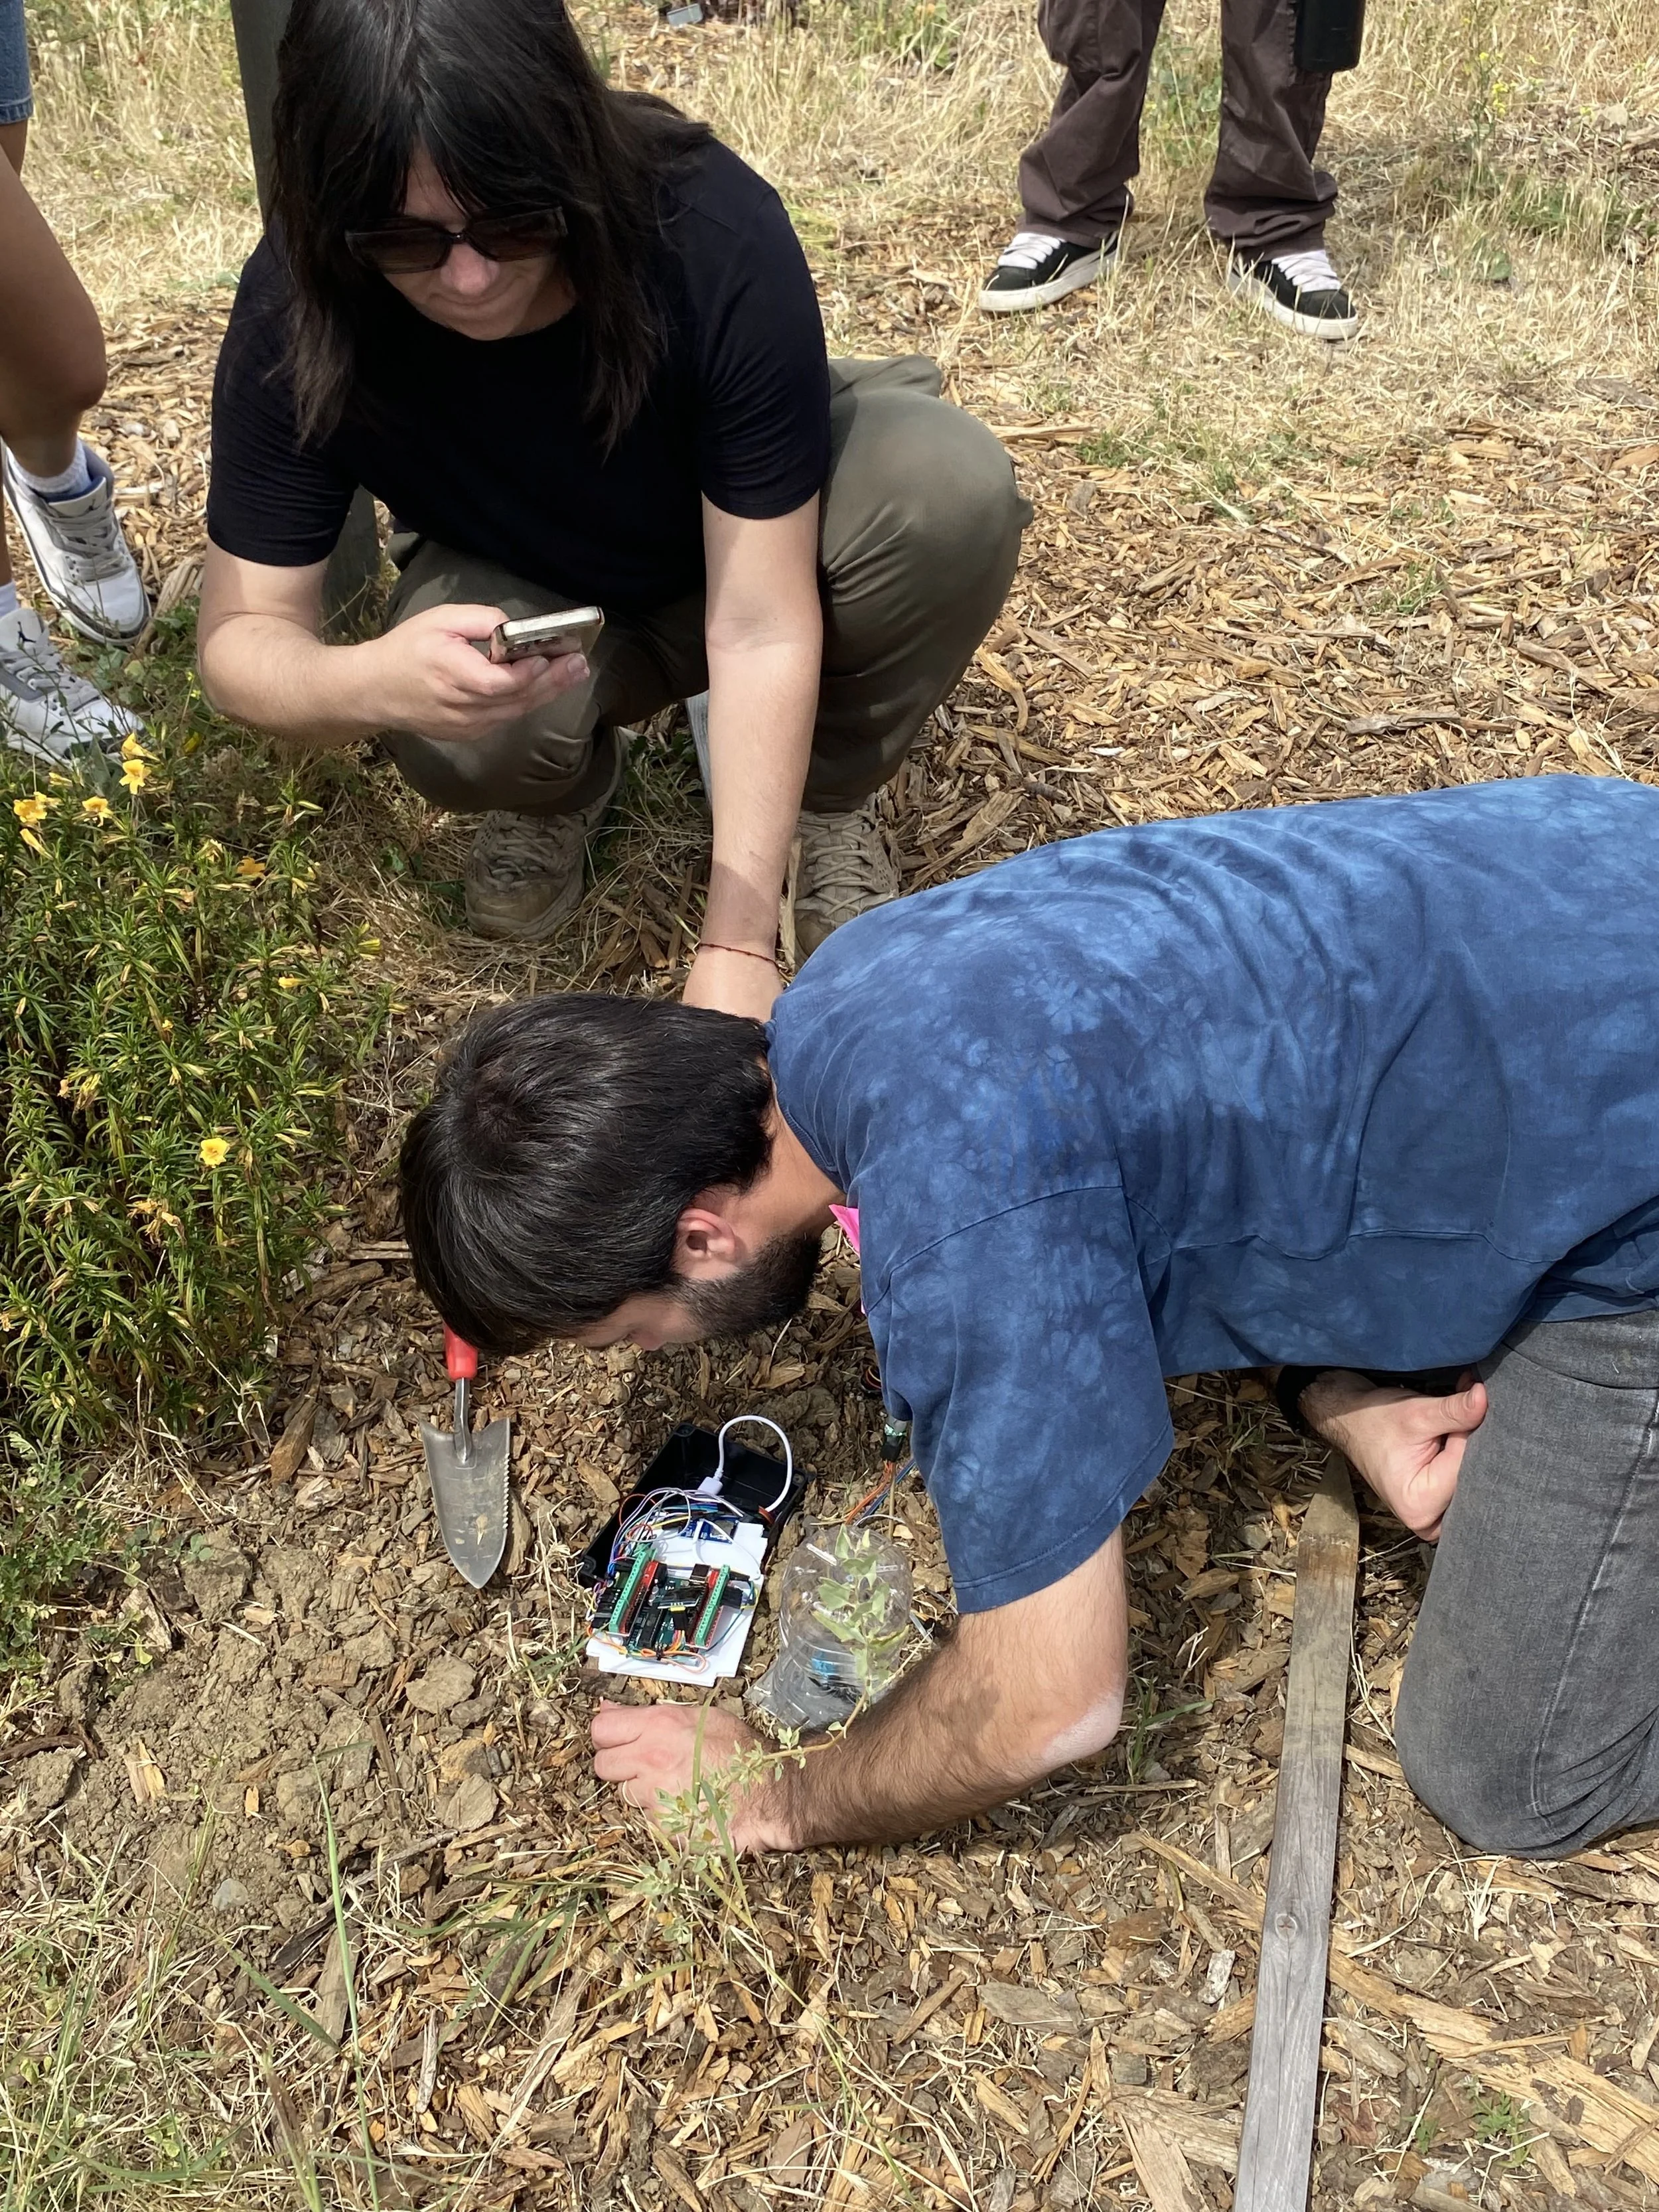
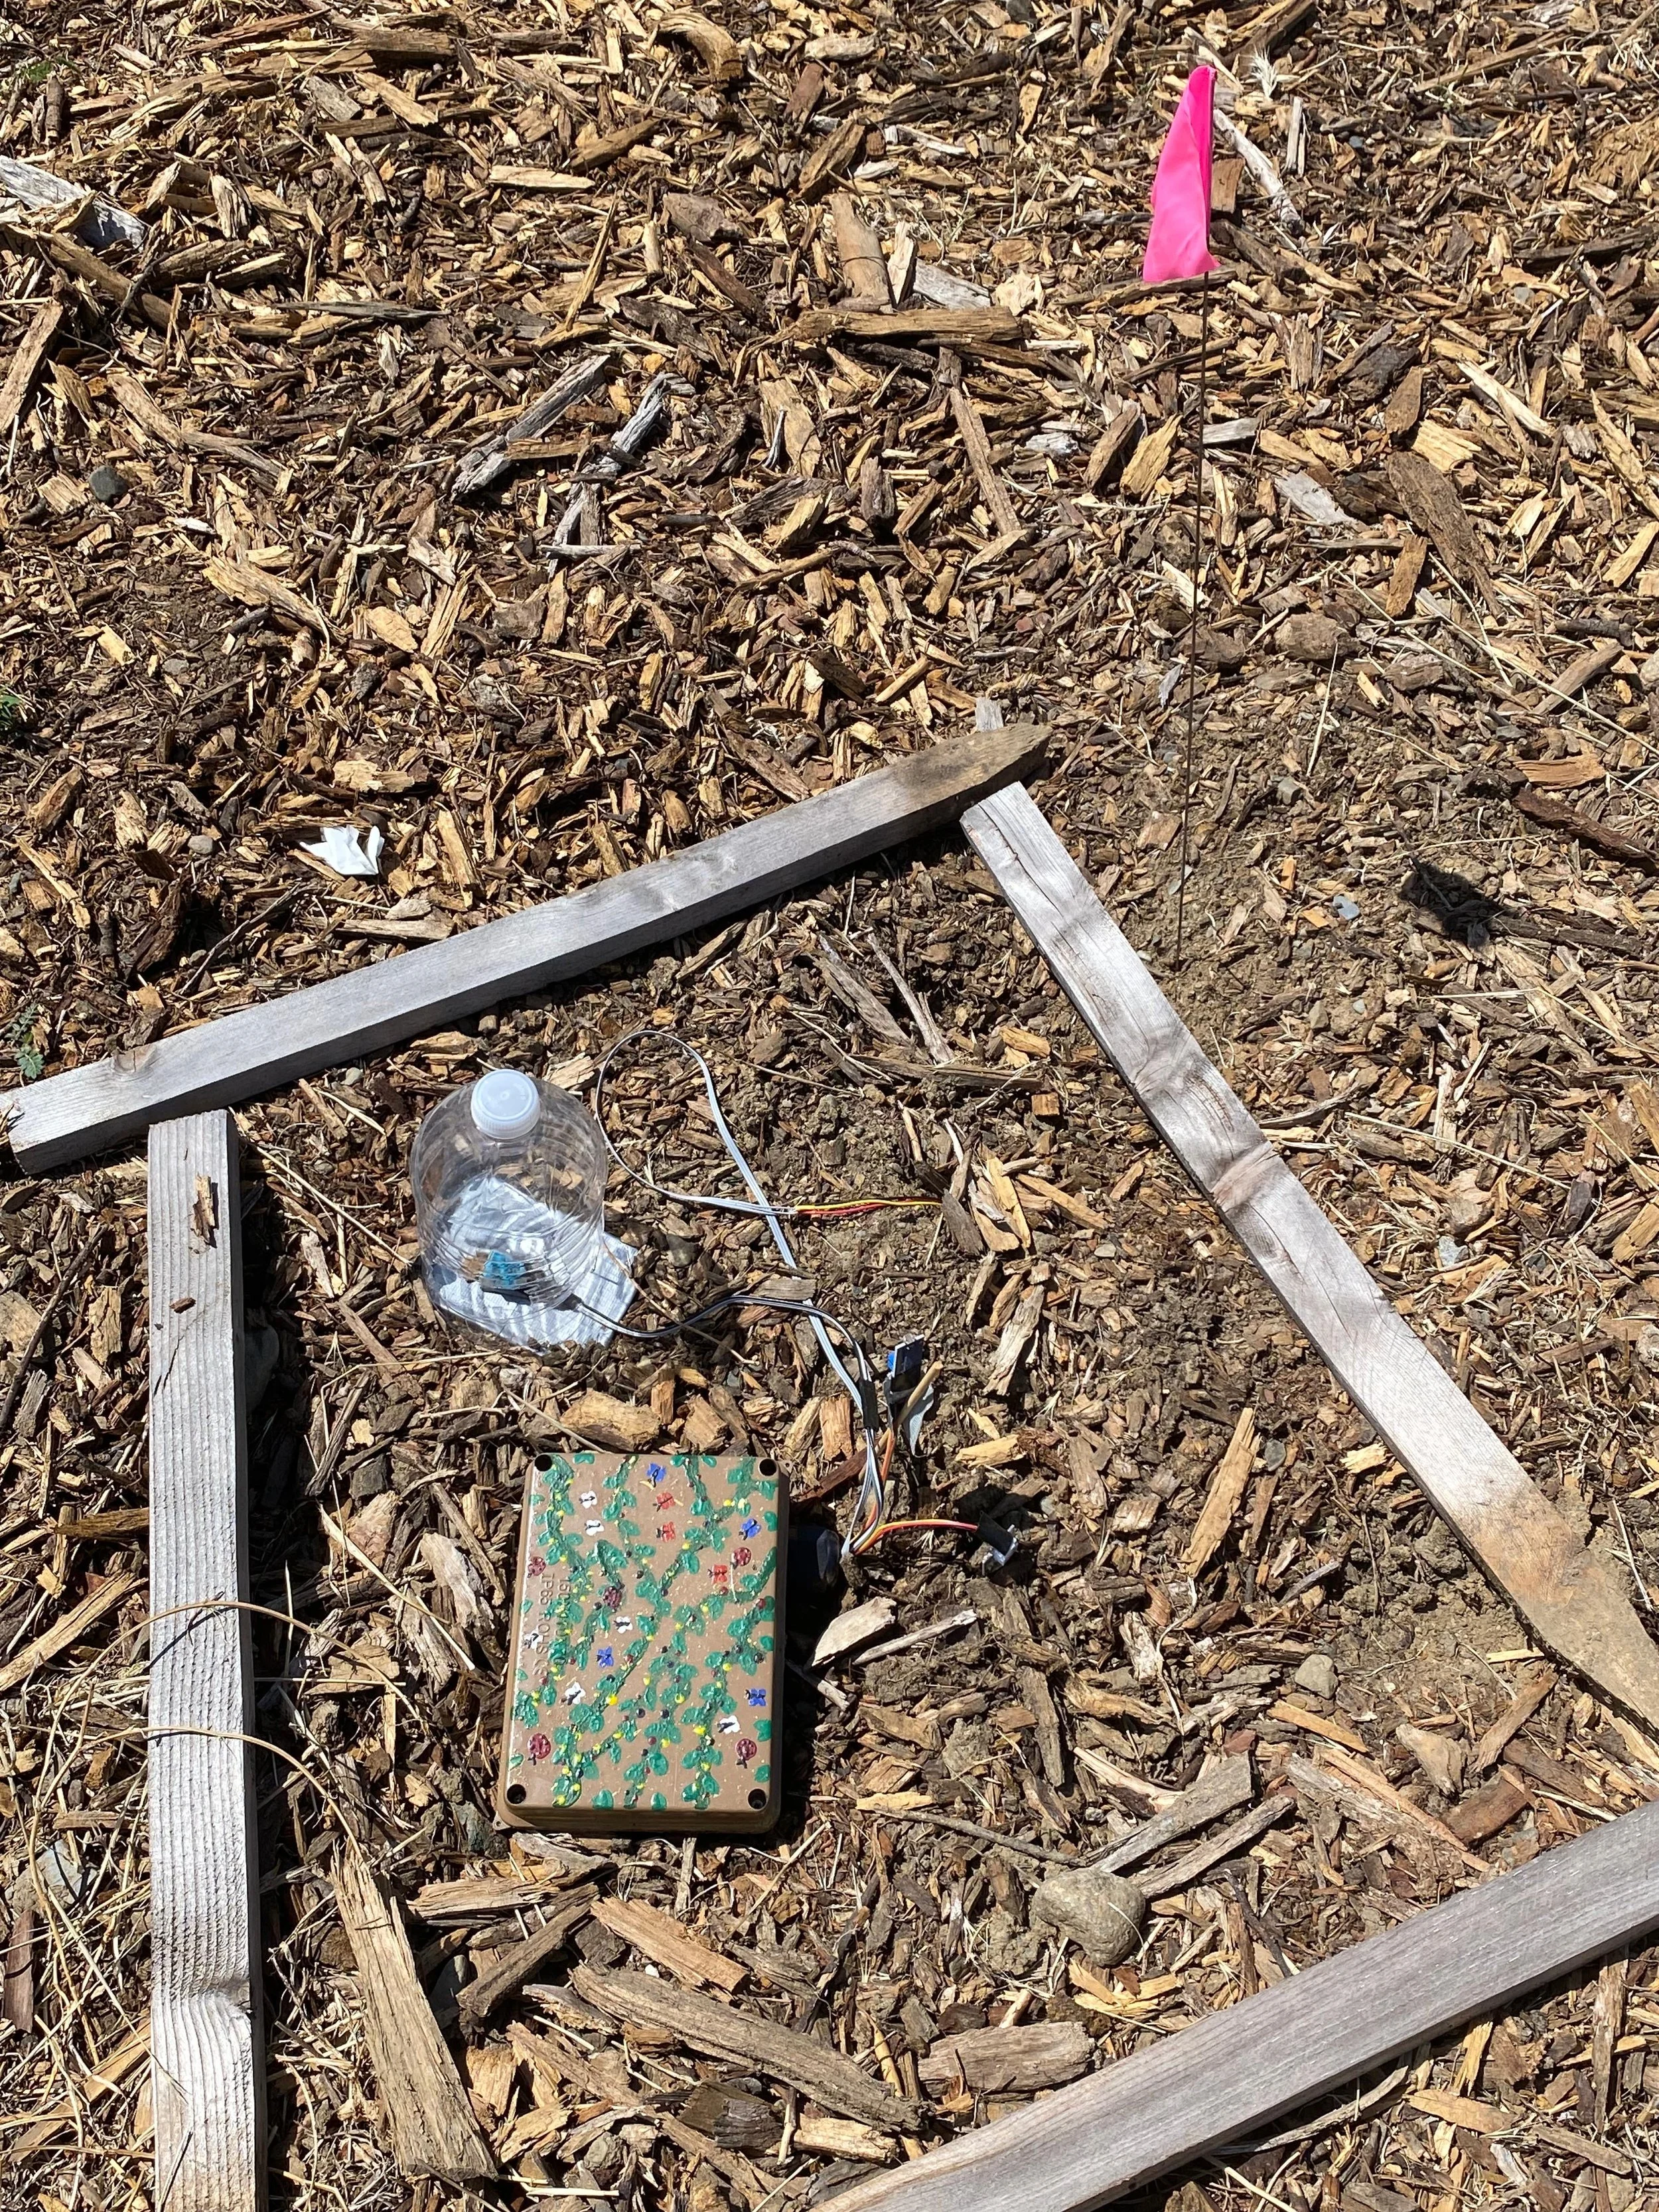
There were 3 key steps in installing sensors in our garden. The first was to assemble the sensors themselves. We started with connecting the sensor’s wires to the memory board. We made sure to cover the most exposed parts with duct tape. This will ensure the sensors don’t sustain any environmental damage. Next we placed the memory board inside a small box. We used a box with holes to place the sensors outside while allowing the memory board to remain protected. The second key step was to calibrate the sensors for the specific environmental factor they will be recording. We used an empty water bottle to place the temperature sensor inside, poking several small holes around it to keep the air flowing, allowing the sensor to record the most accurate data. For the sunlight sensor, we taped it to a long toothpick width stick. This will keep the sensor pointed to the sky at all times. The soil moisture sensor didn’t require any preparation as it was just inserted 3” to 5” into the ground. Finally we dug a 6” x 6” x 6” hole to place the small box in. Once everything was ready we connected a portable battery to the memory board and placed it inside the box. In total we placed 2 sensors in our Chaparral plot, 1 in the Coastal Sage Scrub plot, and 1 in a vacant spot outside the Cactus Scrub plot, which served as our sensing ‘control’ since we don’t actively steward that patch of unmaintained space.
The Reward of a Smart Garden
Sensors can help you maximize plant health with less effort. They can help with things such as water conservation, growth monitoring, and early problem detection. The many functions of the sensors can ensure that your plants are getting what they need. This knowledge will help you be precise with your plant maintenance and if something changes and doesn’t look right, you can correct course before any permanent damage occurs! So if you're a busy person and don’t have a lot of time to care for your plants, go on out and install some sensors!